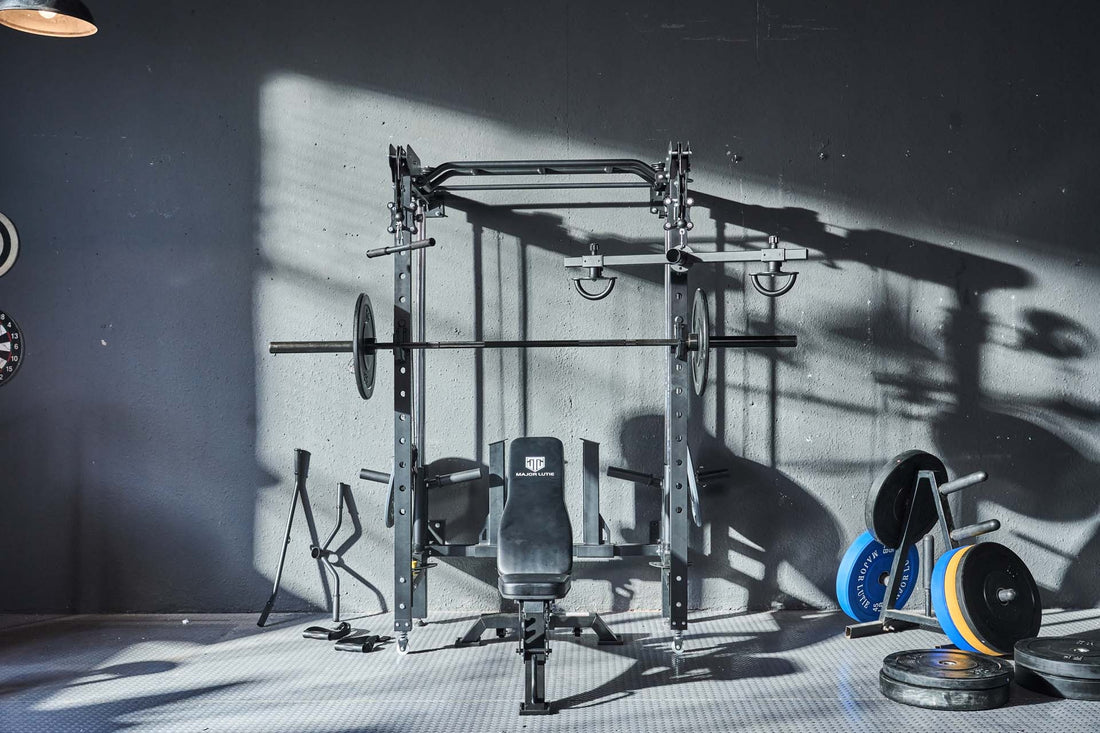
When it comes to setting up a home gym, safety, and space efficiency are top priorities for many fitness enthusiasts. A power rack is an essential piece of equipment that allows for a variety of strength-training exercises. However, to maximize safety and ensure stability during use, mounting your power rack to a wall is a wise choice. This guide will walk you through the process of securely attaching your power rack to a wall, transforming your home gym into a safer and more functional workout space.
Step 1: Choose the Right Location
Before you start drilling holes, it’s crucial to select the appropriate spot for your power rack. Consider the height of the rack as well as the exercises you’ll be performing. Ensure there's ample space around the rack for movement and that the wall you select can bear the weight of the rack plus any additional loads from weights and exercises.
Step 2: Gather Your Tools and Materials
You’ll need a few key tools and materials to securely mount your power rack to the wall, including a drill, drill bits, a stud finder, stringer (if your wall requires them), and the mounting hardware typically provided by the rack’s manufacturer. It’s also advisable to have a level on hand to ensure your rack is perfectly vertical.
Step 3: Locate the Studs
Using a stud finder, locate the studs on your chosen wall. These will provide the most secure points of attachment for your rack. Mark the positions of the studs clearly, as you’ll be drilling into these areas to attach your rack securely.
Step 4: Prepare the Power Rack
If your power rack isn’t already assembled, now is the time to put it together according to the manufacturer’s instructions. If it is assembled, position it against the wall where it will be mounted. This gives you a clear idea of where the mounting brackets will align with the studs in the wall.
Step 5: Mark and Drill
With the power rack in position, mark the points on the wall that align with the mounting holes on the rack. Move the rack away from the wall and drill holes at the marked spots, ensuring they are the correct size for your mounting hardware.
Step 6: Attach the Rack to the Wall
Position your power rack back against the wall, aligning the holes in the rack with those you’ve drilled in the wall. Using the mounting hardware, secure the rack to the wall. It may be helpful to have a second person assist by holding the rack in place while you fasten it securely.
Step 7: Double-check for Stability
Once the rack is mounted, give it a thorough inspection to ensure it’s securely attached to the wall with no wiggle room. Ensure all hardware is tightened properly and the rack is level. It’s crucial that the rack is firmly mounted to prevent any accidents during use.
Step 8: Enjoy Your Safer Workout Space
With your power rack now securely mounted to the wall, you can enjoy a safer and more effective workout experience. Not only does this setup help prevent the rack from tipping or shifting during intense exercise sessions, but it also helps to conserve valuable floor space in your home gym.
Mounting your power rack to the wall is not just about making the most of limited space; it is also an essential equipment in ensuring your home gym is as safe as it can be. With the rack securely fastened to the wall, you can focus on your training, confident that your equipment is stable and reliable. No longer will you need to worry about the integrity of your setup, leaving you free to push your limits and achieve your fitness goals in a home environment. Enjoy the enhanced stability and peace of mind that comes with a properly mounted power rack, and take your home workouts to the next level.


